MMV
How To Install Linux, Apache, MySQL, PHP (LAMP) stack on Ubuntu 16.04 | DigitalOcean
10 Useful Chaining Operators in Linux with Practical Examples
Replacing Image Links in WordPress After Installing an SSL Certificate – WPMU DEV
How to install Armbian on Orange Pi without screen or keyboard with FTDI cable
Armbian 5.25 on OrangePI PC: The gc2035 video camera doesn’t work – Page 3 – Allwinner H2 & H3 – Armbian forum

The most import is that don’t load gc2035 & vfe_v4l2 before. So you had better remove it in /etc/modules
This is my /etc/modules
#w1-sunxi
#w1-gpio
#w1-therm
#gc2035
#vfe_v4l2
#sunxi-cir
#v4l2loopback
you may see /dev/video0, but when you reboot, it lose again
I add my scrip to /etc/rc.local
this is my /etc/rc.local
sunxi-pio -m "PG11<1><0><1><1>"
modprobe gc2035
modprobe vfe_v4l2
sleep 5
modprobe v4l2loopback devices=2
/root/vidcopy/vidcopy -w 640 -h 480 -r 30 -i /dev/video0 -o /dev/video1 -f UYVY
sleep 5
/root/vidcopy/vidcopy -w 640 -h 480 -r 30 -i /dev/video1 -o /dev/video2 -f UYVY
exit 0
Thanks my friend: “虚耗”
How to Use Orange Pi Camera in Linux (with Motion)
Earlier this month, I wrote a Quick Start Guide for Orange Pi Allwinner H3 boards such as Orange Pi PC, and showed how to install and configure Debian on the boards. I’ve also received the $5.90 Orange Pi camera, which when combined an Orange Pi PC, costs around $27 including shipping. So today, I’ve attached the CSI camera to my Orange Pi 2 mini board, and used it with motion to transform for the board into an IP camera.
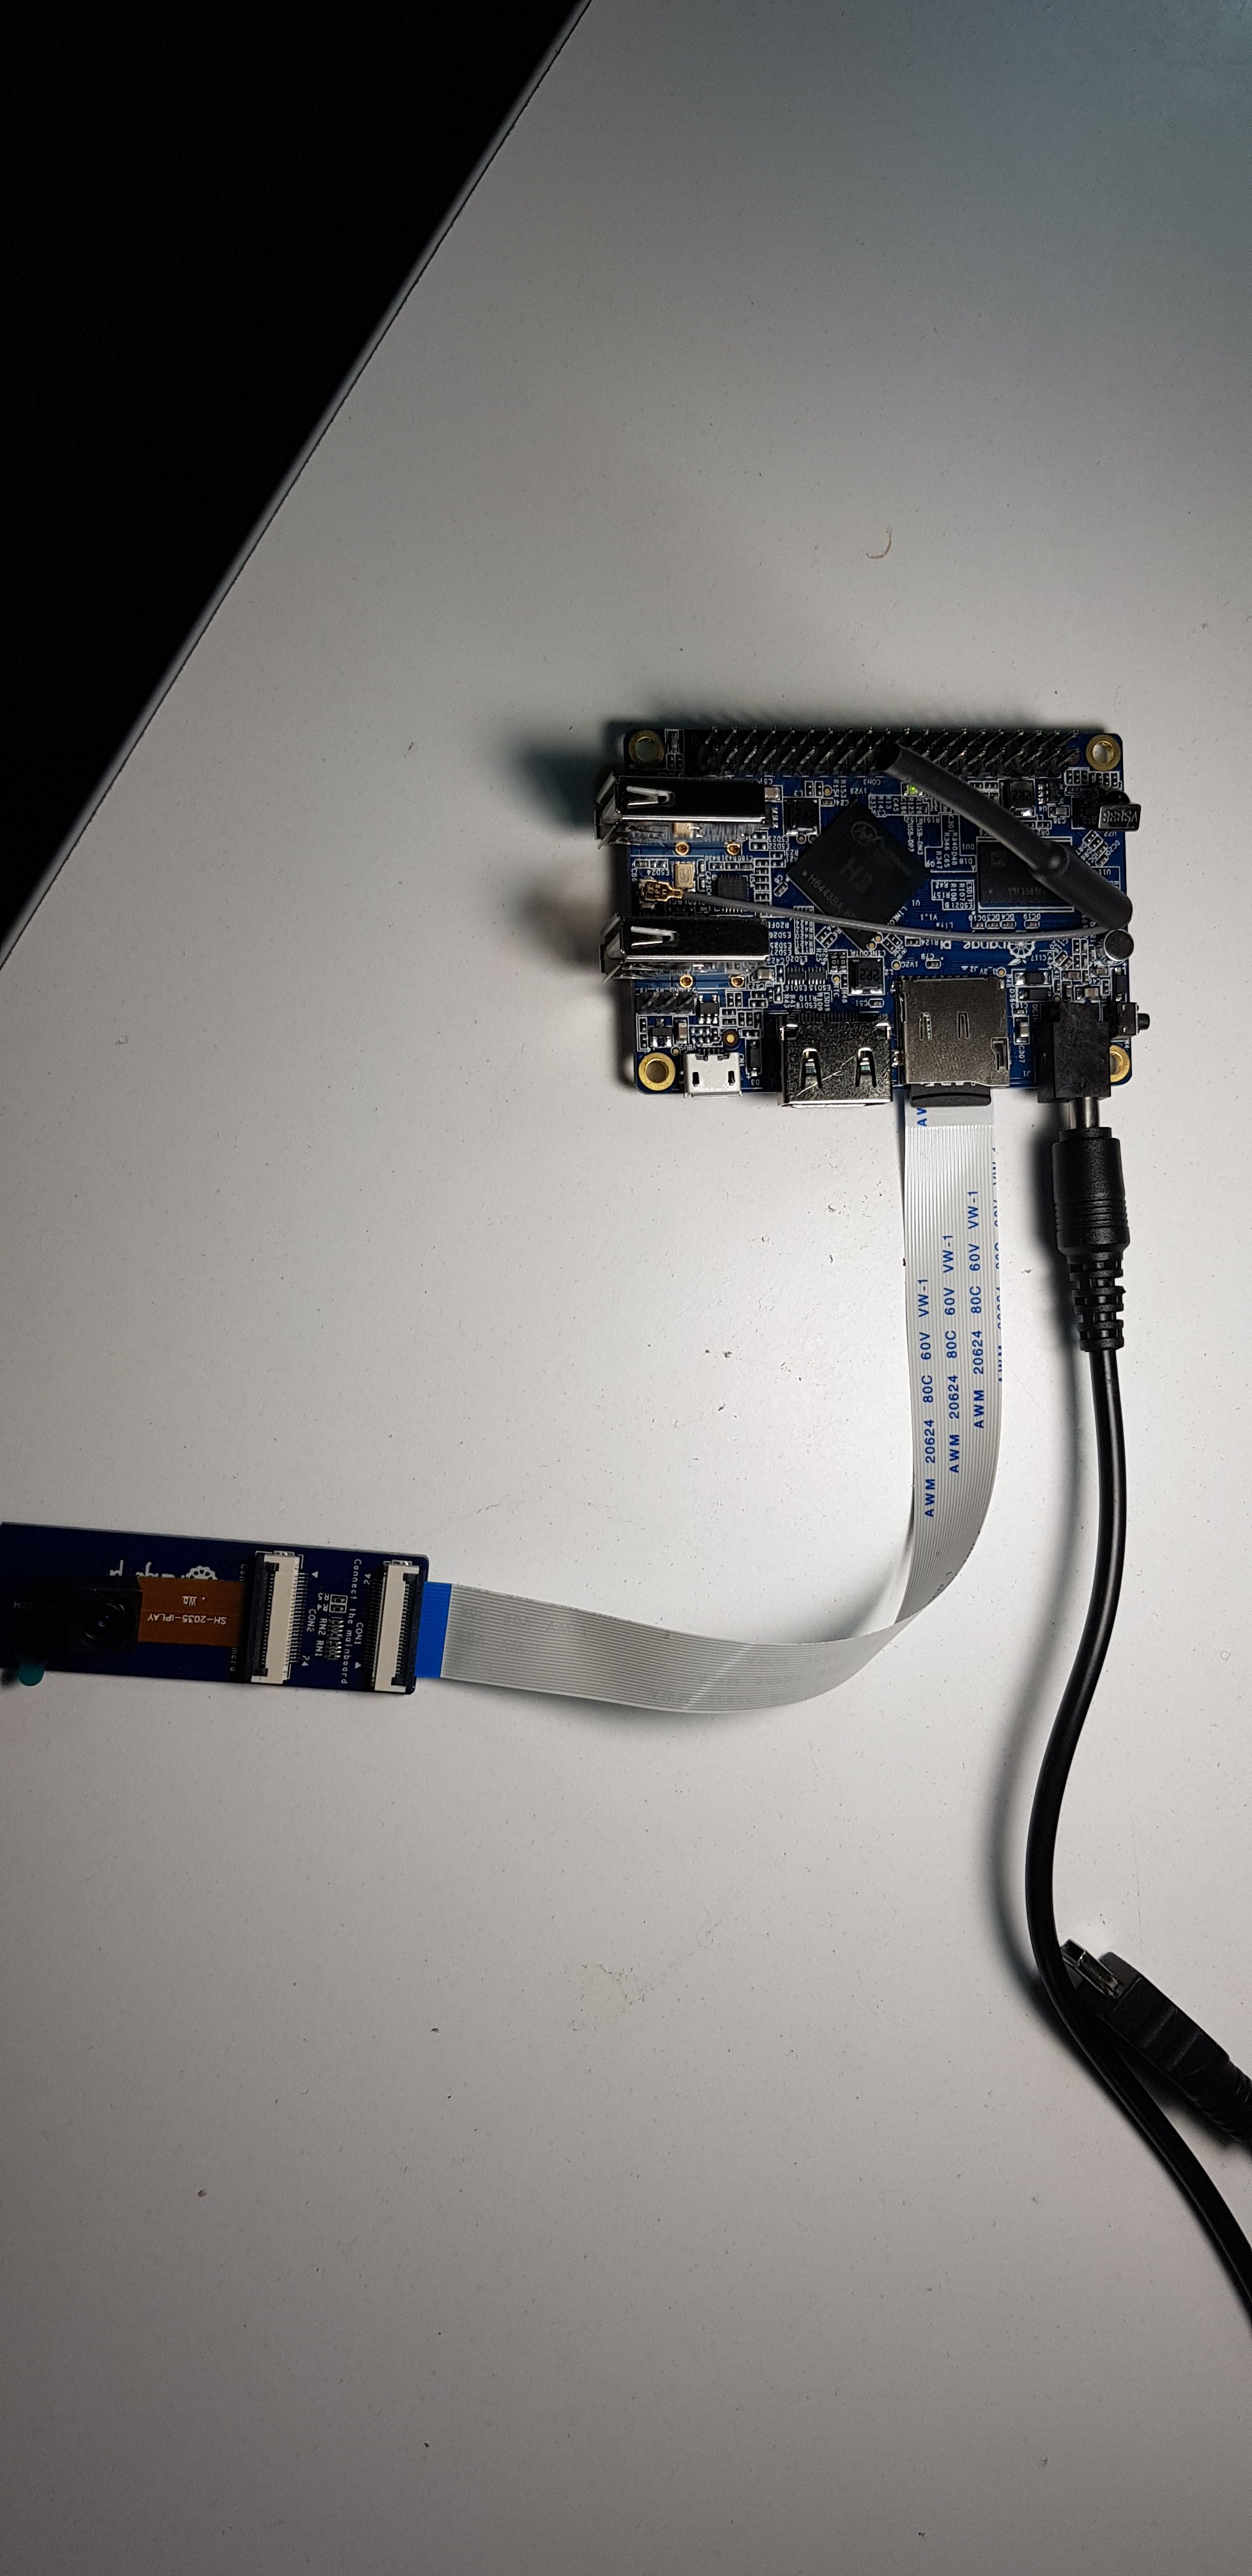
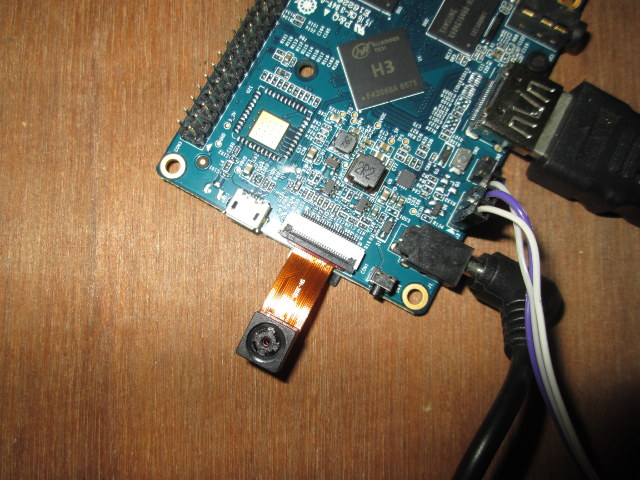
 First, you’ll need to insert the camera into CON1 connector with the camera facing the ceiling, and close the black clip to keep it in place.
Now connect all cable and power on your board. First, I studied the steps described on that forum thread, and modified Allwinner configuration files, but after one or two hours, I found out some work at been done since May, and it was now much easier to use the camera since gc2035 drivers was part of the Debian image, and the script.bin file (allwinner config file) was already setup to be used with Orange pi camera.
Open a terminal window in the board to load drivers:
|
1
2
|
sudo modprobe gc2035
sudo modprobe vfe_v4l2
|
and then mostly followed the instructions for USB webcams on Orange Pi website to install and configure motion:
|
1
2
|
sudo apt–get install motion
sudo nano /etc/motion/motion.conf
|
and enable the following line:
|
1
|
stream_localhost off
|
This will make sure the web server started by motion will be accessible from other network devices.
I’ve also changed target_dir to /home/orangepi/motion, as motion would crash each time it would create a file when detection motion.
|
1
2
|
mkdir ~/motion
chmod 777 motion
|
You’ll also need to change the startup script
|
1
|
sudo nano /etc/default/motion
|
and change the only line in the file as follows:
|
1
|
“start_motion_daemon=yes”
|
Finally, we are ready to give it a try:
|
1
|
sudo /etc/init.d/motion start
|
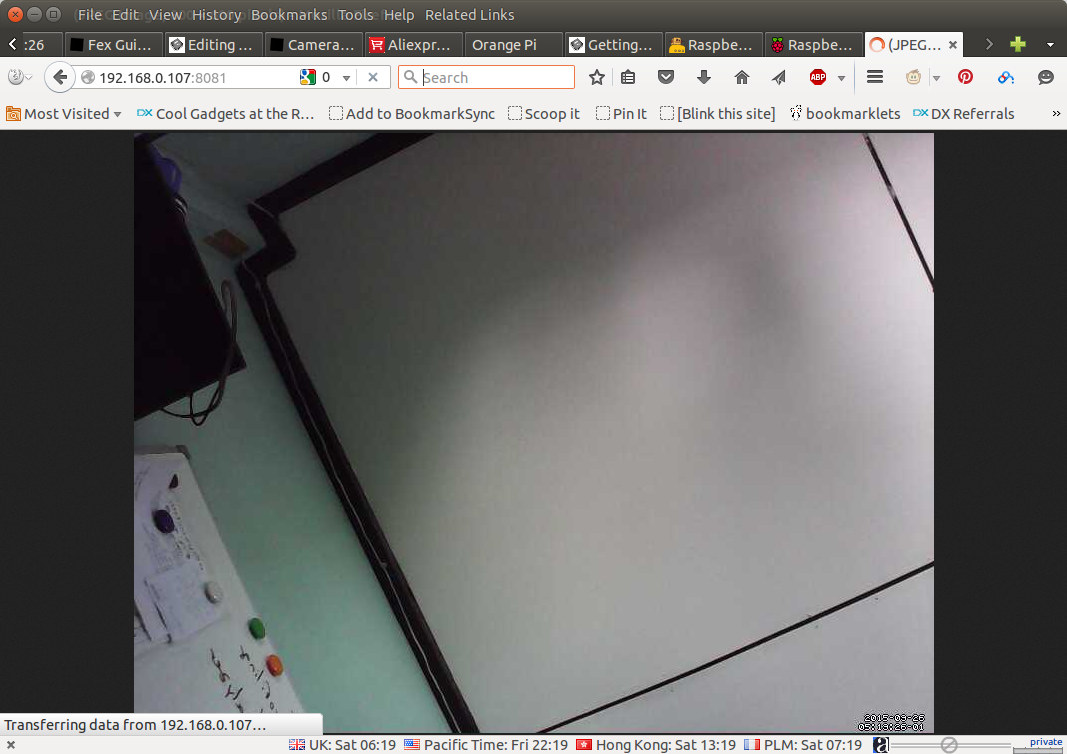
You can launch your favorite browser, or access localhost:8081 if you are using your board, or <orange_ip_address>:8081 from another machine on the network, and you should the the picture camera updated into your web browser about twice per second.

If the system detects motion will save pictures and videos in target_dir directory, which I set to /home/orangepi/motion earlier. The image resolution is set to 800×600, and it ignored width and height settings (320×240) set in motion.conf.
Motion will start automatically, but you still need to load the modules automatically at boot time for this to work. Simply edit /etc/modules, and add the two required modules at the end of the file.
|
1
2
|
gc2035
vfe_v4l2
|
Now motion will run automatically, and the camera work properly each time the board starts.
https://www.cnx-software.com/2015/09/26/how-to-use-orange-pi-camera-in-linux-with-motion/
grant remote access of MySQL database from any IP address
Config file changes are required to enable connections via localhost.
To connect through remote IPs, Login as a “root” user and run the below queries in mysql.
CREATEUSER'username'@'localhost'IDENTIFIEDBY'password';GRANTALLPRIVILEGESON*.*TO'username'@'localhost'WITHGRANTOPTION;CREATEUSER'username'@'%'IDENTIFIEDBY'password';GRANTALLPRIVILEGESON*.*TO'username'@'%'WITHGRANTOPTION;FLUSH PRIVILEGES;
This will create a new user that is accessible on localhost as well as from remote IPs.
Also comment the below line from your my.cnf file located in /etc/mysql/my.cnf
bind-address=127.0.0.1
Restart your mysql using
sudo service mysql restartNow you should be able to connect remotely to your mysql.
Source: grant remote access of MySQL database from any IP address – Stack Overflow
(MMV) Reference · ESP8266 Arduino Core
Timing and delays
millis() and micros() return the number of milliseconds and microseconds elapsed after reset, respectively.
delay(ms) pauses the sketch for a given number of milliseconds and allows WiFi and TCP/IP tasks to run. delayMicroseconds(us) pauses for a given number of microseconds.
Remember that there is a lot of code that needs to run on the chip besides the sketch when WiFi is connected. WiFi and TCP/IP libraries get a chance to handle any pending events each time the loop() function completes, OR when delay is called. If you have a loop somewhere in your sketch that takes a lot of time (>50ms) without calling delay, you might consider adding a call to delay function to keep the WiFi stack running smoothly.
There is also a yield() function which is equivalent to delay(0). ThedelayMicroseconds function, on the other hand, does not yield to other tasks, so using it for delays more than 20 milliseconds is not recommended.
Source: Reference · ESP8266 Arduino Core
