Open Zoneminder. Click on Options – Paths
Change PATH_ZMS to /zm/cgi-bin/nph-zms
Reboot the server to set the API tmp directories.
https://wiki.zoneminder.com/Common_Issues_with_Zoneminder_Installation_on_Ubuntu
Open Zoneminder. Click on Options – Paths
Change PATH_ZMS to /zm/cgi-bin/nph-zms
Reboot the server to set the API tmp directories.
https://wiki.zoneminder.com/Common_Issues_with_Zoneminder_Installation_on_Ubuntu
Set up source type as remote
protocol as HTTP
remote method as Simple
remote host name ip address of Motion server ie 192.168.1.11
remote host port as 8081 ( providing this is the streaming port on Motion )
remote host path as /
set the colour and image size to match that of Motion ( found in the motion.conf file )
Hope this helps you or others.
https://forums.zoneminder.com/viewtopic.php?t=20575
$ sudo -u www-data php occ files:scan –all
https://forum.owncloud.org/viewtopic.php?t=31599

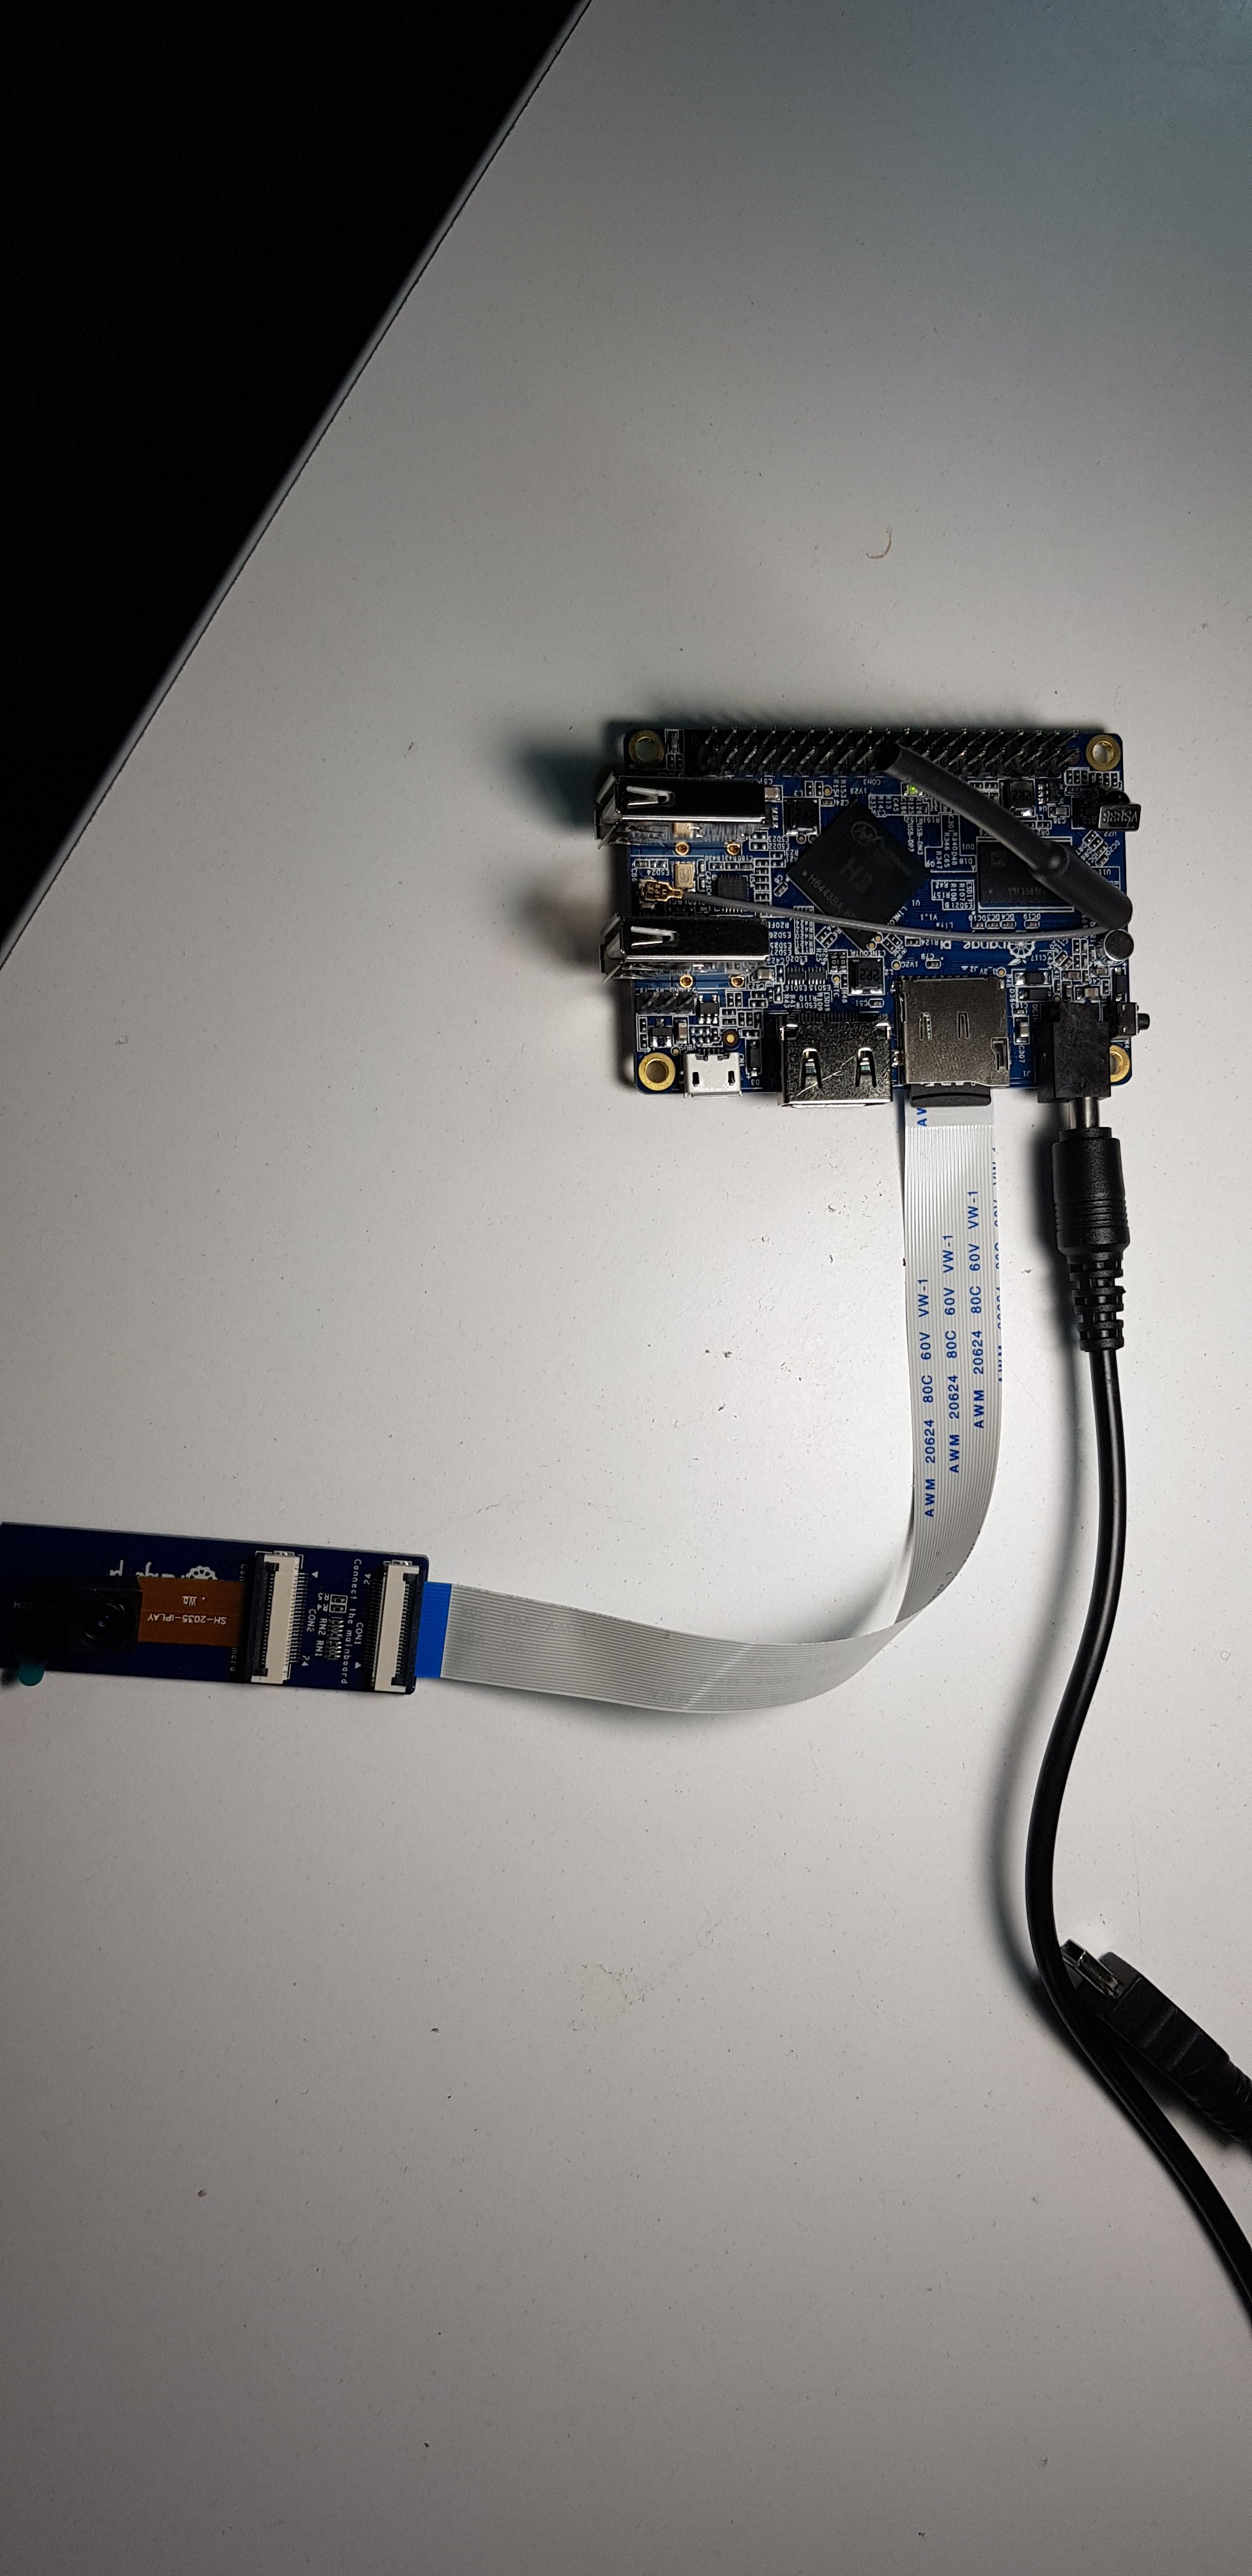
The most import is that don’t load gc2035 & vfe_v4l2 before. So you had better remove it in /etc/modules
This is my /etc/modules
#w1-sunxi
#w1-gpio
#w1-therm
#gc2035
#vfe_v4l2
#sunxi-cir
#v4l2loopback
you may see /dev/video0, but when you reboot, it lose again
I add my scrip to /etc/rc.local
this is my /etc/rc.local
sunxi-pio -m "PG11<1><0><1><1>"
modprobe gc2035
modprobe vfe_v4l2
sleep 5
modprobe v4l2loopback devices=2
/root/vidcopy/vidcopy -w 640 -h 480 -r 30 -i /dev/video0 -o /dev/video1 -f UYVY
sleep 5
/root/vidcopy/vidcopy -w 640 -h 480 -r 30 -i /dev/video1 -o /dev/video2 -f UYVY
exit 0
Thanks my friend: “虚耗”
Source: Spring Boot
history -w ~/history.txt
Source: bash – How to save terminal history manually? – Ask Ubuntu
Овој чланак ми го реши проблемот со broken keychain за cleanapp апликацијата.
Source: How to install a SSL certificate on a Tomcat server – HelpDesk | SSLs.com
Here is an examples of how to configure tomcat-apache connector.
You forgot JkWorkersFile directive. Add this line:
JkWorkersFile /path/workers.properties
where path is where you saved your workers.properties file.
The port defined by:
worker.worker1.port=8080
is the port where is listening Tomcat. Check tomcat configuration, usually is 8009.
mod_jkThe Apache web server has a module called mod_jk which can communicate directly with Tomcat using the Apache JServ Protocol. A connector for this protocol is enabled by default within Tomcat, so Tomcat is already ready to handle these requests.
Before we can discuss how to proxy Apache web server connections to Tomcat, you must install and secure an Apache web server.
You can install the Apache web server by following step 1 of this guide. Do not install MySQL or PHP.
Afterwards, you will need to set up SSL on the server. The way you do this will depend on whether you have a domain name or not.
When you are finished with these steps, continue below to learn how to hook up the Apache web server to your Tomcat installation.
mod_jkFirst, we need to install the mod_jk module. The Apache web server uses this to communicate with Tomcat using the Apache JServ Protocol.
We can install mod_jk from Ubuntu’s default repositories. Update the local package index and install by typing:
The module will be enabled automatically upon installation.
Next, we need to configure the module. The main configuration file is located at /etc/libapache2-mod-jk/workers.properties. Open this file now in your text editor:
Inside, find the workers.tomcat_home directive. Set this to your Tomcat installation home directory. For our Tomcat installation, that would be /opt/tomcat:
workers.tomcat_home=/opt/tomcat
Save and close the file when you are finished.
mod_jkNext, we need to adjust our Apache Virtual Host to proxy requests to our Tomcat installation.
The correct Virtual Host file to open will depend on which method you used to set up SSL.
If you set up a self-signed SSL certificate using the guide linked to above, open the default-ssl.conf file:
If you set up SSL with Let’s Encrypt, the file location will depend on what options you selected during the certificate process. You can find which Virtual Hosts are involved in serving SSL requests by typing:
Your output will likely begin with something like this:
Looking at the lines associated with SSL port 443 (lines 3-6 in this example), we can determine which Virtual Hosts files are involved in serving those domains. Here, we see that both the 000-default-le-ssl.conf file and the default-ssl.conf file are involved, so you should edit both of these. Your results will likely differ:
Regardless of which files you have to open, the procedure will be the same. Somewhere within the VirtualHost tags, you should enter the following:
<VirtualHost *:443>
. . .
JKMount /* ajp13_worker
. . .
</VirtualHost>
Save and close the file. Repeat the above process for any other files you identified that need to be edited.
When you are finished, check your configuration by typing:
If the output contains Syntax OK, restart the Apache web server process:
You should now be able get to your Tomcat installation by visiting the SSL version of your site in your web browser:
https://example.com
Source: How To Encrypt Tomcat 8 Connections with Apache or Nginx on Ubuntu 16.04 | DigitalOcean