In this article, I am going to show you how to use Docker Compose to create a LAMP server for PHP web development. So, let’s get started.
Requirements:
In order to follow this article, you must have Docker installed on your computer. LinuxHint has a lot of articles that you can follow to install Docker on your desired Linux distribution if you don’t have it installed already. So, be sure to check LinuxHint.com in case you’re having trouble installing Docker.
Installing Docker Compose:
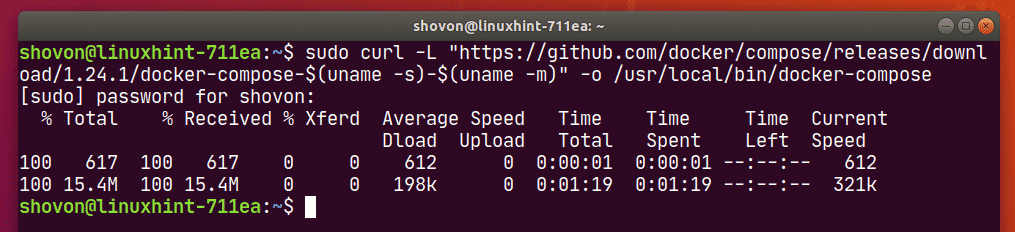
You can download Docker Compose binary file very easily with the following command:
$ sudo curl -L “https://github.com/docker/compose/releases/download/1.24.1/
docker-compose-$(uname -s)–$(uname -m)“ -o /usr/local/bin/docker-compose
NOTE: curl may not be installed on your Linux distribution. If that’s the case, you can install curl with the following command:
Ubuntu/Debian/Linux Mint:
$ sudo apt install curl -y
CentOS/RHEL/Fedora:
$ sudo dnf install curl -y
Once docker-compose binary file is downloaded, run the following command:
$ sudo chmod +x /usr/local/bin/docker-compose

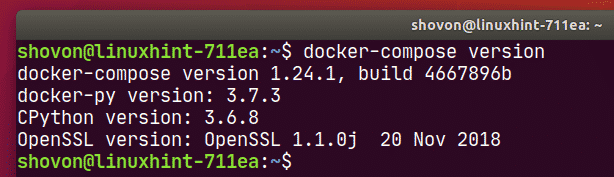
Now, check whether docker-compose command is working as follows:
It should print the version information as shown in the screenshot below.
Setting Up Docker Compose for the Project:
Now, create a project directory ~/docker/lamp (let’s say) and a html/ directory inside the project directory for keeping the website files (i.e. php, html, css, js etc.) as follows:
$ mkdir -p ~/docker/lamp/html

Now, navigate to the project directory ~/docker/lamp as follows:

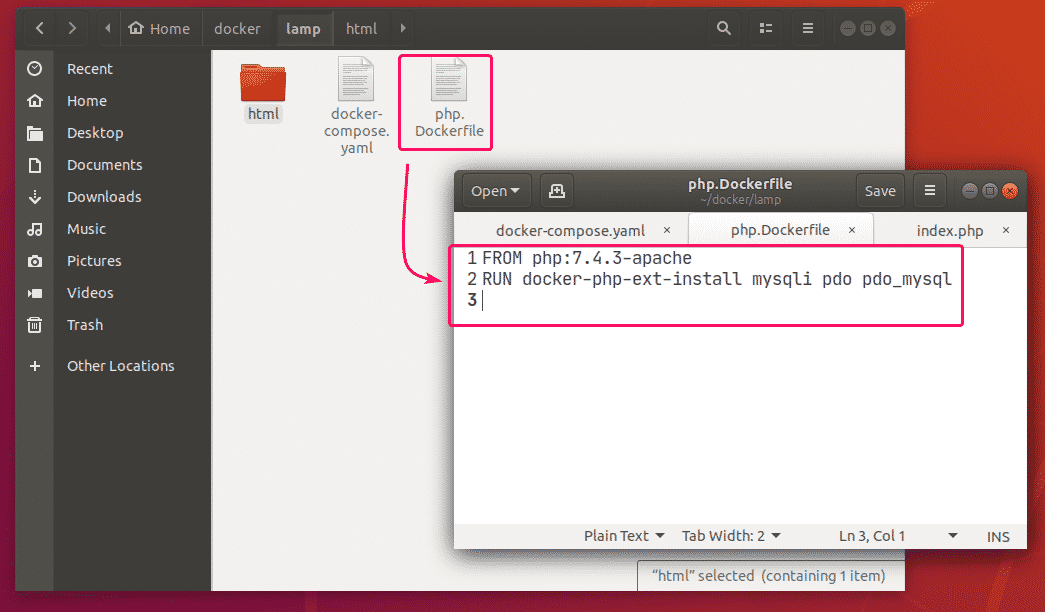
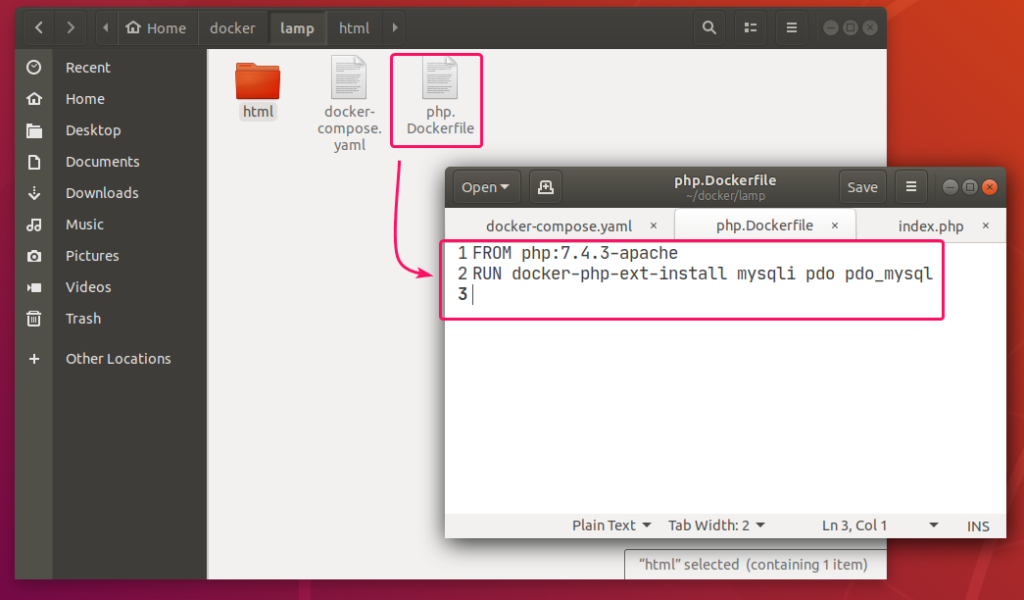
Create a php.Dockerfile in the project directory ~/docker/lamp. This is a Dockerfile which enables mysqli and PDO php extensions in the php:7.4.3-apache image from Docker Hub and builds a custom Docker image from it.
The contents of the php.Dockerfile is given below.
RUN
docker–php–ext–install mysqli pdo pdo_mysql
Now, create a docker-compose.yaml file in the project directory ~/docker/lamp and type in the following lines in the docker-compose.yaml file.
version: “3.7”
services:
web-server:
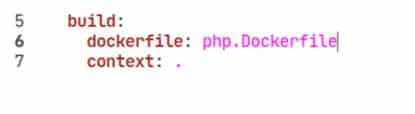
build:
dockerfile: php.Dockerfile
context: .
restart: always
volumes:
– “./html/:/var/www/html/”
ports:
– “8080:80”
mysql-server:
image: mysql:8.0.19
restart: always
environment:
MYSQL_ROOT_PASSWORD: secret
volumes:
– mysql-data:/var/lib/mysql
phpmyadmin:
image: phpmyadmin/phpmyadmin:5.0.1
restart: always
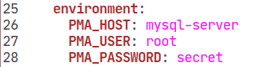
environment:
PMA_HOST: mysql-server
PMA_USER: root
PMA_PASSWORD: secret
ports:
– “5000:80”
volumes:
mysql-data:
The docker-compose.yaml file should look as follows.
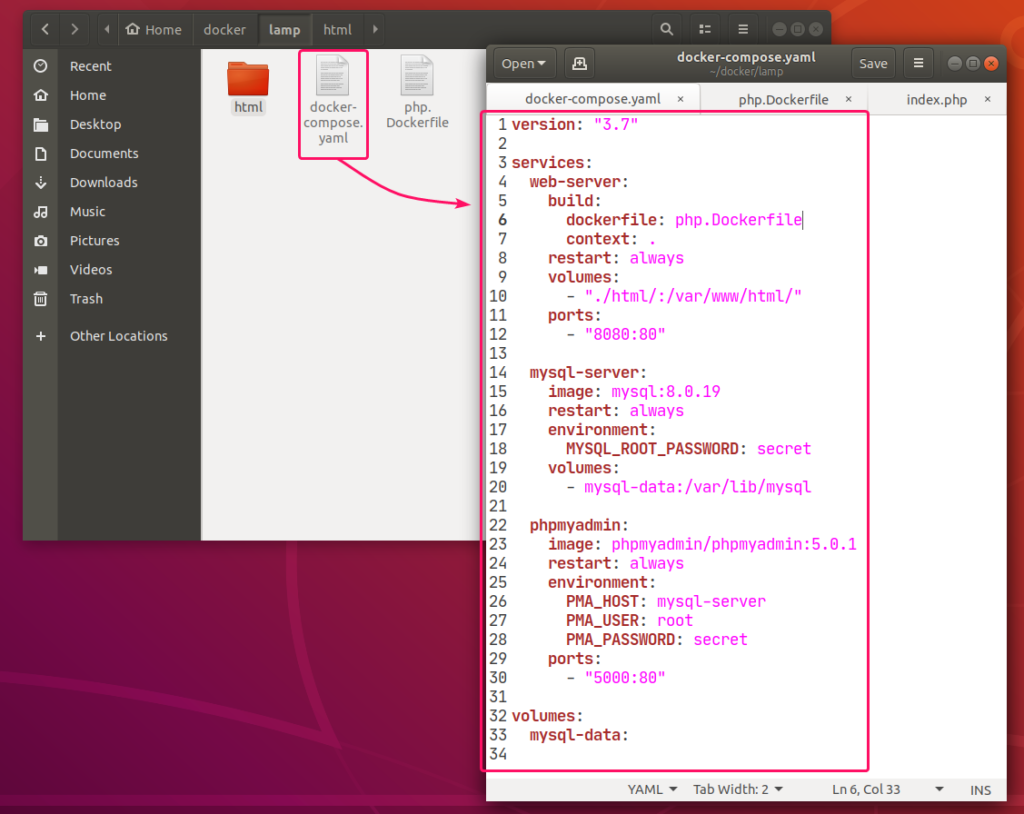
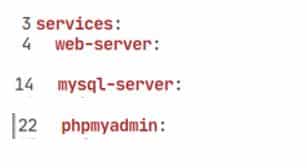
Here, I have created 3 services web-server, mysql-server and phpmyadmin.
web-server service will run a custom-built Docker image as defined in php.Dockerfile.
mysql-server service will run the mysql:8.0.19 image (from DockerHub) in a Docker container.

phpmyadmin service will run the phpmyadmin/phpmyadmin:5.0.1 image (from DockerHub) in another Docker container.

In mysql-server service, the MYSQL_ROOT_PASSWORD environment variable is used to set the root password of MySQL.

In phpmyadmin service, the PMA_HOST, PMA_USER, PMA_PASSWORD environment variables are used to set the MySQL hostname, username and password respectively that phpMyAdmin will use to connect to the MySQL database server running as mysql-server service.

In mysql-server service, all the contents of the /var/lib/mysql directory will be saved permanently in the mysql-data volume.’

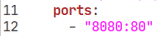
In the web-server service, the container port 80 (right) is mapped to the Docker host port 8080 (left).’
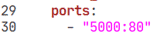
In the phpmyadmin service, the container port 5000 (right) is mapped to the Docker host port 80 (left).
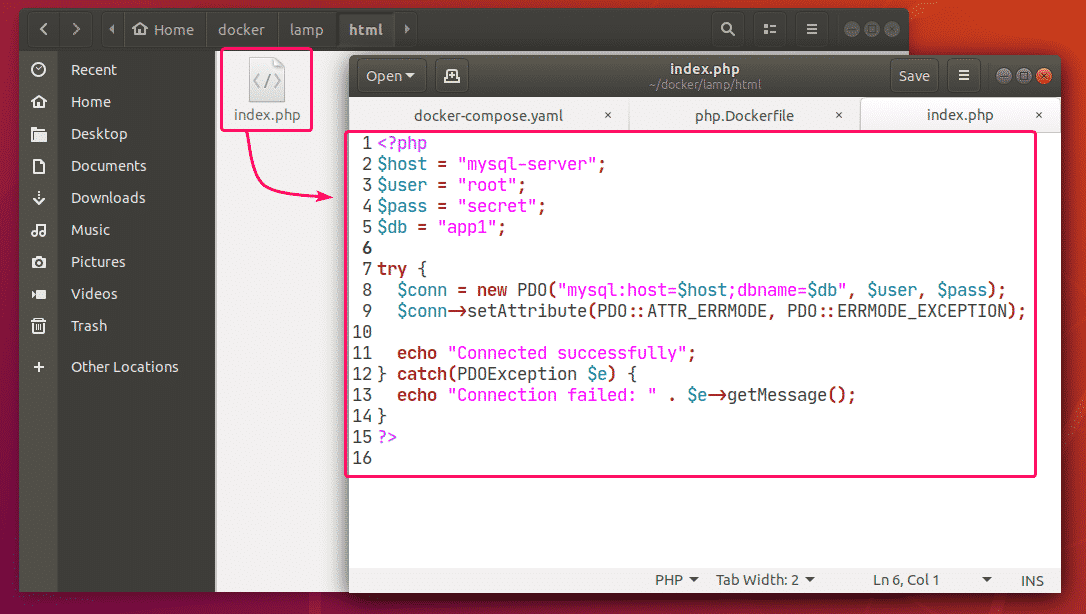
Also, create a index.php file in the html/ directory for testing the LAMP server.
The contents of the index.php file in my case,
<?php
$host = “mysql-server”;
$user = “root”;
$pass = “secret”;
$db = “app1”;
try
{
$conn = new PDO
(“mysql:host=$host;dbname=$db“, $user, $pass);
$conn->setAttribute(PDO
::ATTR_ERRMODE, PDO
::ERRMODE_EXCEPTION);
echo “Connected successfully”;
} catch(PDOException $e) {
echo “Connection failed: “ . $e->getMessage();
}
?>

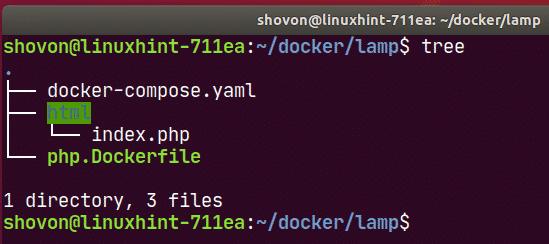
Finally, the project directory ~/docker/lamp should look as follows:

Starting the LAMP Server:
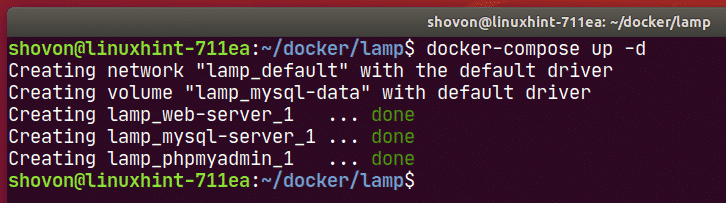
Now, to start the web-server, mysql-server and phpmyadmin services, run the following command:

All the services should start in the background.
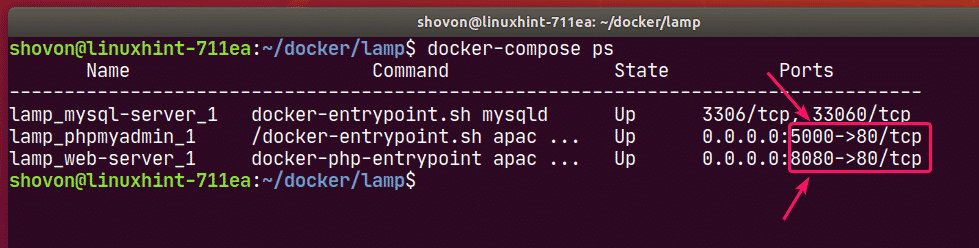
To see how the ports are mapped, run the following command:
As you can see, for the web-server service, the Docker host port 8080 is mapped to the container TCP port 80.
For the phpmyadmin service, the Docker host port 5000 is mapped to the container TCP port 80.

Finding the IP Address of Docker Host:
If you want to access the LAMP server from other computers on your network, you must know the IP address of your Docker host.
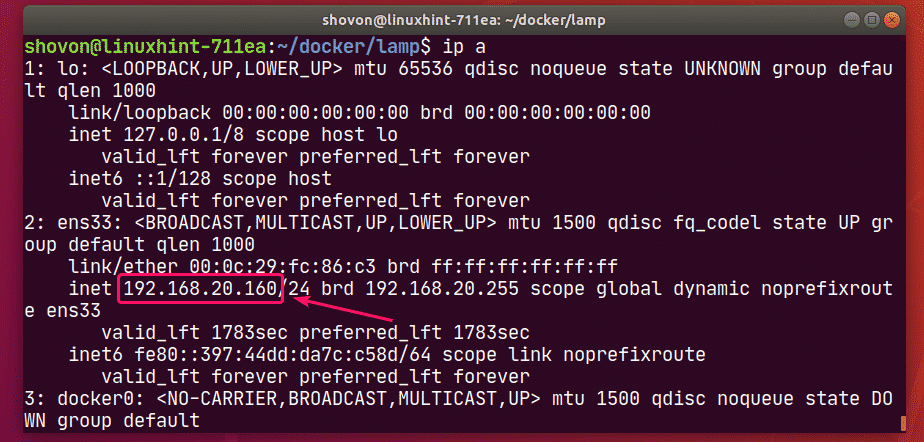
To find the IP address of your Docker host, run the following command:
In my case, the IP address of my Docker host 192.168.20.160. It will be different for you. So, make sure to replace it with yours from now on.
Testing the LAMP Server:
Now, you can access phpMyAdmin 5 and the web server from a web browser.
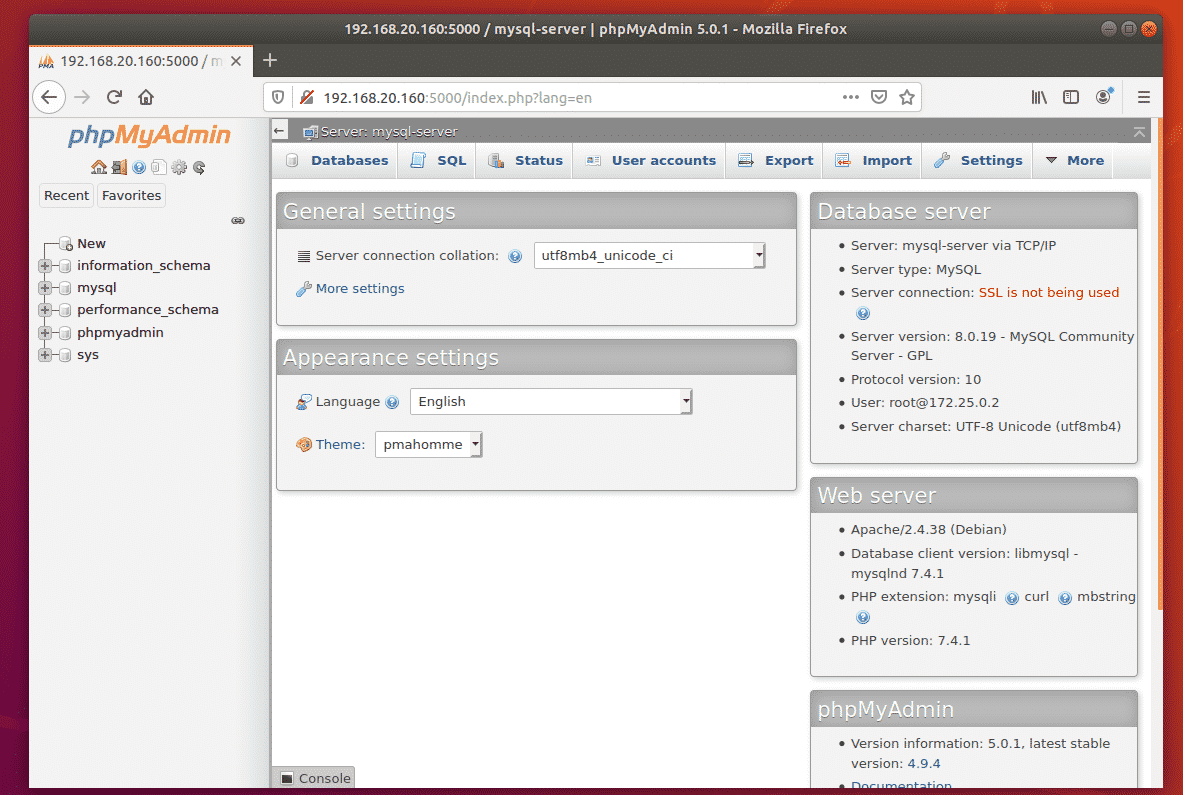
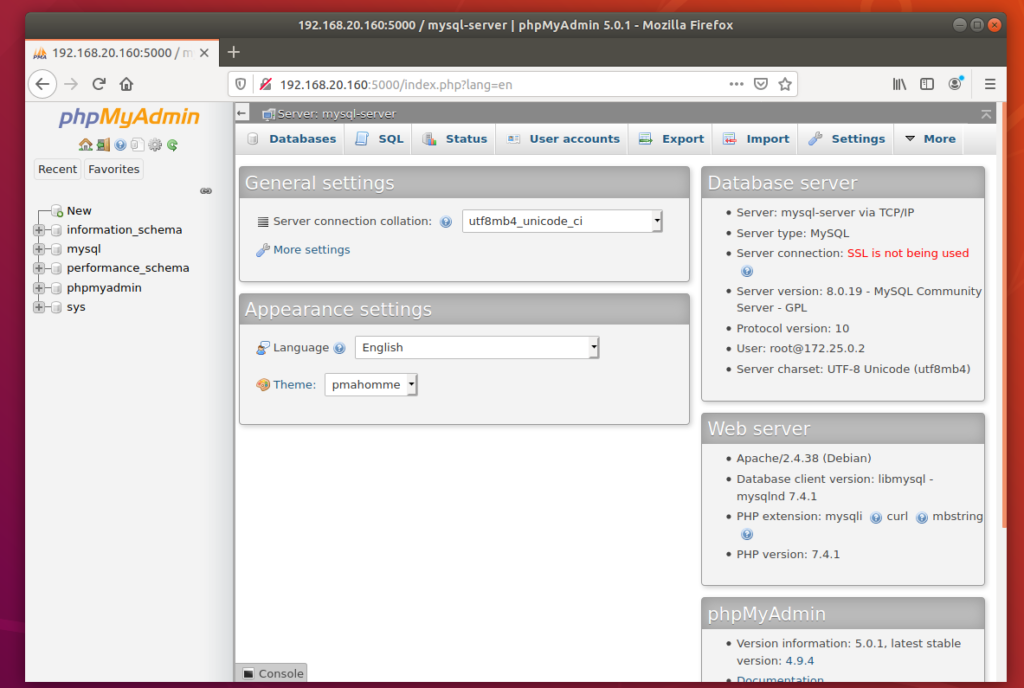
To access phpMyAdmin 5, open a web browser and visit http://localhost:5000 from your Docker host or visit http://192.168.20.160:5000 from any other computer on the network.
phpMyAdmin 5 should load in your web browser.
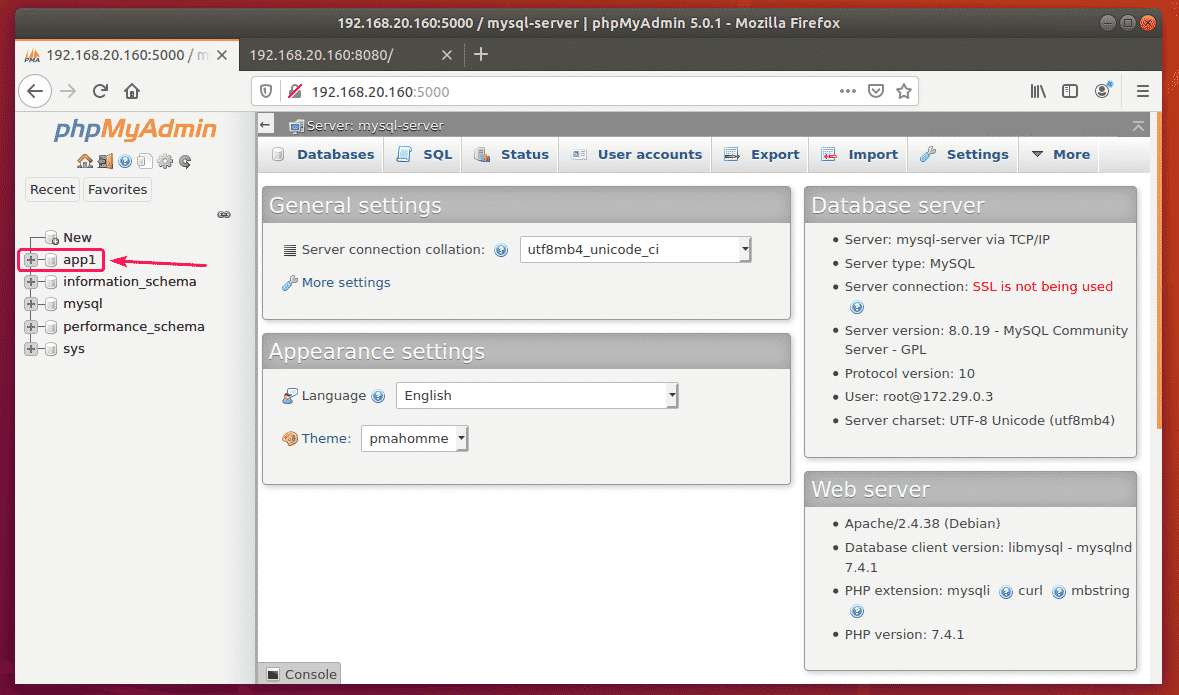
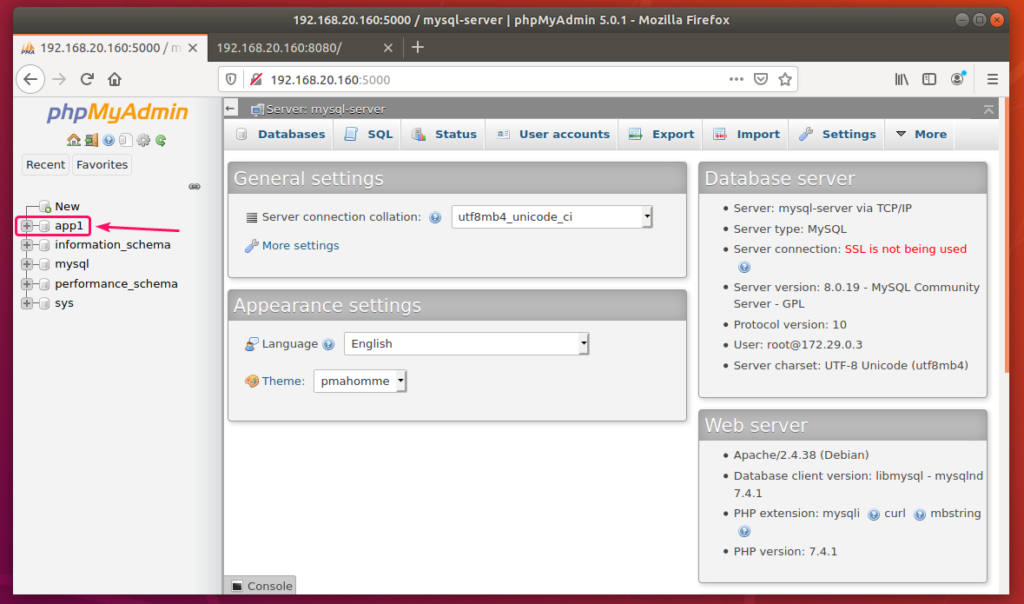
Now, create an app1 MySQL database from phpMyAdmin.
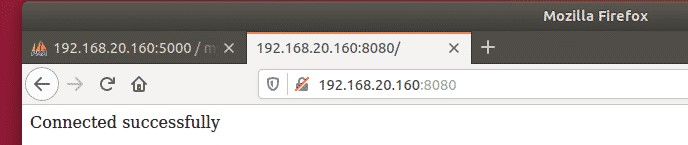
Now, visit http://localhost:8080 from your Docker host or http://192.168.20.160:8080 from any other computer on your network to access the web server.
You should see the Connected successfully message. It means, the PHP is working and the MySQL database server is accessible from the web-server container. So, technically, the LAMP server is fully functional.
Stopping the LAMP Server:
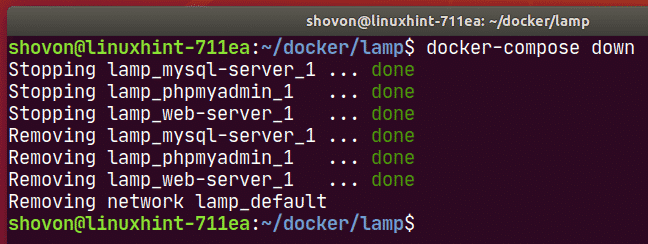
To stop the web-server, mysql-server and phpmyadmin services, run the following command:

The web-server, mysql-server and phpmyadmin services should be stopped.
Cleaning Up MySQL Server Data:
If you want to remove all the MySQL database data and settings, you must remove the mysql-data volume.
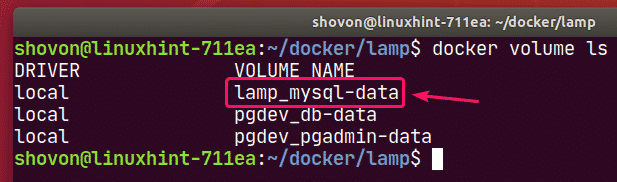
You can find the actual name of the volume with the following command:

You can remove the volume lamp_mysql-data with the following command:
$ docker volume rm lamp_mysql-data

So, that’s how you set up a LAMP server with Docker. Thanks for reading this article.
As you can see, the volume to remove is lamp_mysql-data.