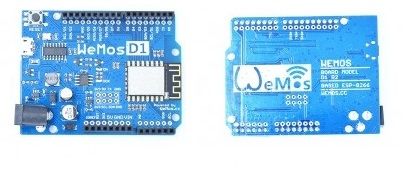
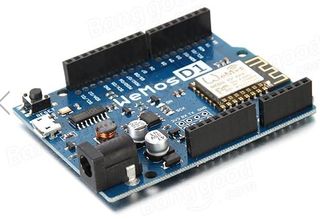
In this Instructable I will guide you through the steps needed to install, configure and program the WeMos-D1R2 board using the Arduino IDE.
WeMos-D1R2 is an ESP8266-12 based WiFi enabled microprocessor unit on a Arduino-UNO footprint. That means the board looks and works (in most cases) like an UNO. Apparently several shields, sensors and output devices that are manufactured for the Arduino platform will work on the WeMos-D1R2 with the added advantage of builtin WiFi.
There are two WeMos boards in the market.If you are not careful you will end up with a D1 Board which is an older version. You have to make sure you have the current version of the board WeMos-D1R2. I bought my WeMos-D1R2 from Banggood, I believe it is a Hong Kong based online retailer. The quality of the product is good and has a short delivery time, about two weeks to the US. They carry the genuine WeMos-D1R2. There are several older model WeMos-D1 being sold as WeMos-D1R2 to unsuspecting customers by several other vendors.
You will find several similarities between this Instructable and my previous one – Programming the ESP8266-12E using Arduino software/IDEbecause of the fact that the ESP8266-12 is the foundation of the WeMos-D1R2 board. In some cases I have copied and pasted the complete steps.
Step 1: Differences Between the I/O Pins.
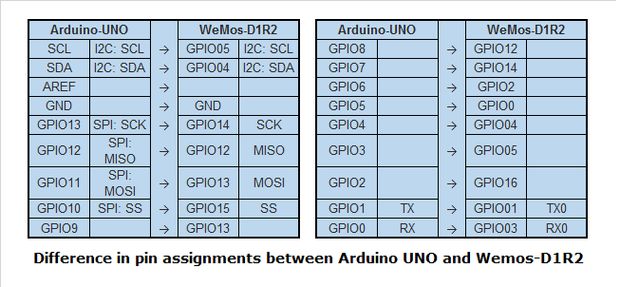
Though the Arduino UNO and the WeMos-D1R2 are similar, there are a few differences in their pin assignment. The above illustration provides the mapping of the pins. In some situations programs written for the UNO will need to be modified a little to the proper pin assignments of the WeMos-D1R2. More on this when we write our first sketch.
Source: Programming the ESP8266 WeMos-D1R2 Using Arduino Software/IDE


