Don’t you hate it when people use your computer without your permission? Worst still, your laptop is stolen and you have no idea who stole it. If your laptop comes with a webcam, you can easily set up motion detection software to find out who is using your computer when you are not around. If you have a spare computer at home, you can also use it as a surveillance camera. We have shown you how to do so in Windows, and this article will show you how to set up a motion detection webcam in Ubuntu.
The software that we are using is Motion. This is one useful tool that can monitor the video signal from a webcam and take screenshots when it detects a motion (i.e. when a significant part of the picture has changed). While we are dealing with Ubuntu in this article, Motion will work for most Linux distro as well.
Installing Motion
Motion is included in the Ubuntu repository, so you can install it by clicking here, via the Ubuntu Software Center, or by simply typing the following command in the terminal:
sudo apt-get install motion
Configuring Motion
Before we start configuring Motion, we need to copy the config file to our Home folder so that the master copy won’t be affected. Open a terminal and copy the configuration file to your Home folder.
mkdir .motion
sudo cp /etc/motion/motion.conf ~/.motion/motion.conf
Note: The above commands will create a hidden folder “.motion” in your Home directory.
Once you have done the copying, you can open the file for editing.
sudo nano ~/.motion/motion.conf
There are plenty of options that you can customize in the config file, but there are only a few things that we are interested in. Scroll down the list to find the following settings:
Daemon – Changing this to “on” will make it run in daemon mode. Applications in daemon mode will run in the background and start automatically when the computer starts. The default option is “off” where you need to start the application manually in terminal.

Width – This is the width of the images taken by the webcam. The default is 320, but you can set your own value here. Note that the width is limited by your webcam’s capability. My webcam is only capable of taking images up to 350px, so a value of 320 works fine for me.
Height – The height of the images taken by the webcam. Similarly, it is limited by your webcam’s capability.
framerate – how often you want the image to be captured per second. The default is 2 (2 frames/images taken per second). The higher value you set, the more computing resources it will require.
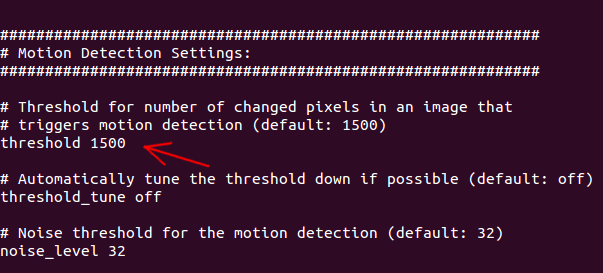
Motion detection thresold – the number of changed pixels in an image before it is captured. The default is 1500. If you want to make it more sensitive, set it to a lower value.
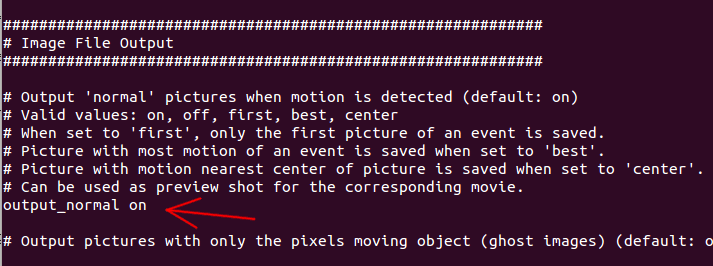
output_normal – This will determine whether it will save the motion to images. The default option is “on,” which means pictures will be saved as long as motion is detected. You can set it to “first,” “best,” “center” to get it to save only a limited number of images. This will prevent your folder from having an overwhelming number of images. If you just need the video streaming mode, you can set it to “off” to prevent it from saving any pictures.
target_dir – This is the directory where the images are saved. If you have installed Dropbox (or any other cloud storage service), you can set the target directory to be within your Dropbox folder so you can view the images from another location.
Note: There are plenty of other options that you can config, but we won’t be covering them here.
Once you are done with the configuration, press “Ctrl + o” to save the changes and “Ctrl + x” to exit.
Starting motion
In the terminal, type:
sudo motion
This will start the motion server. If everything goes well, you will start seeing pictures showing up in the target directory.
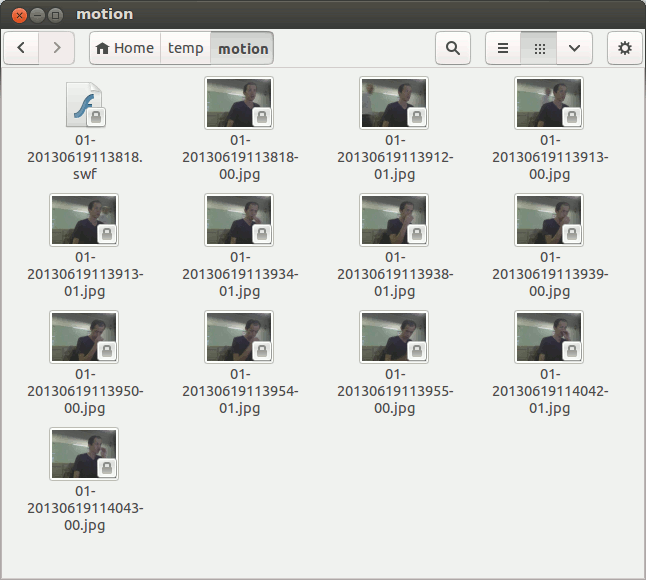
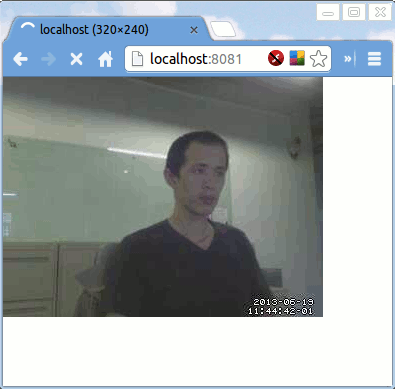
There is also a swf live streaming video that you can open in your media player. If you are accessing from a remote location, you can access the IP address of your computer (with port 8081) to view the video (or http://localhost:8081 in your local computer). The control center is accessible at port 8080.
Managing the saved images remotely
As I mentioned earlier, the best way is to save the images into your Dropbox folder so you can access it anywhere you want. However, if you prefer to have the images uploaded to your own file server (via FTP), you can use the command wput to upload the images.
sudo apt-get install wput
In the config file, scroll down the list till you see a field “on_picture_save value“. Change it to:
on_picture_save wput ftp://user@password@server %f
where the “user”, “password” and “server” are details that you need to fill in.
Autostart Motion on boot up
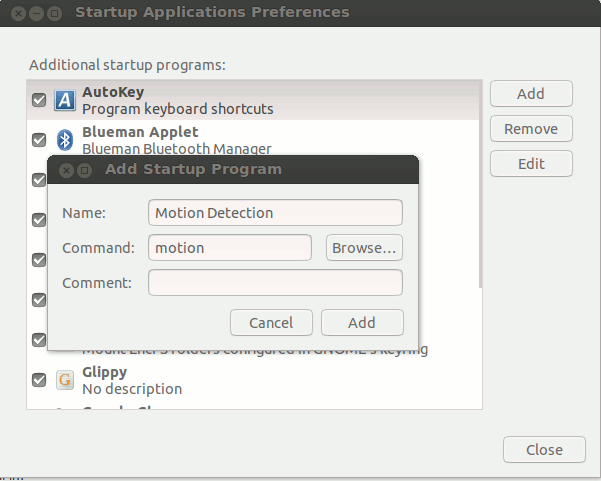
If you like Motion to autostart every time you boot up your computer, all you have to do is to add an entry to the Startup Application.
Conclusion
While it may seems like a complicated task, setting up a motion detection webcam in Ubuntu is actually a very easy job. What other method do you use to set up your webcam as a surveillance camera? Let us know in the comments.