How to Install and Configure LDAP Client on Ubuntu
On the client systems, you will needs to install a few necessary packages to make authentication mechanism function correctly with an LDAP server.
Configure LDAP Client in Ubuntu 16.04 and 18.04
UBUNTU < 20.04
STEP1: First start by installing the necessary packages by running the following command.
$ sudo apt update && sudo apt install libnss-ldap libpam-ldap ldap-utils nscd
During the installation, you will be prompted for details of your LDAP server (provide the values according to your environment). Note that the ldap-auth-config package which is auto-installed does the most of the configurations based on the inputs you enter.
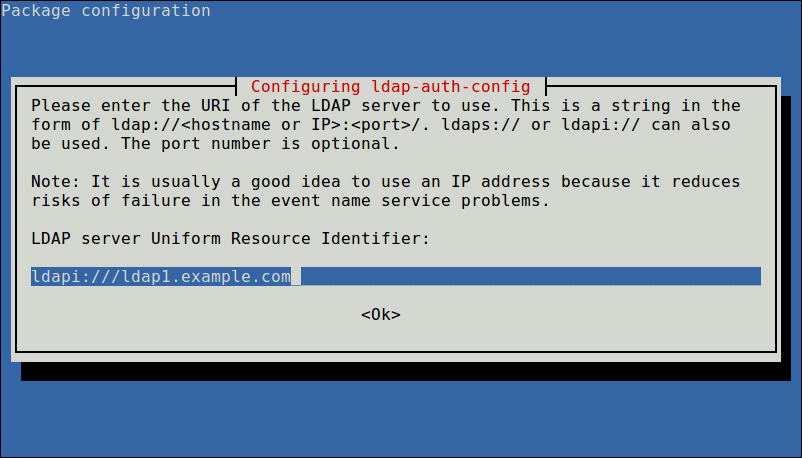
Enter LDAP Server URI
Next, enter the name of the LDAP search base, you can use the components of their domain names for this purpose as shown in the screenshot.
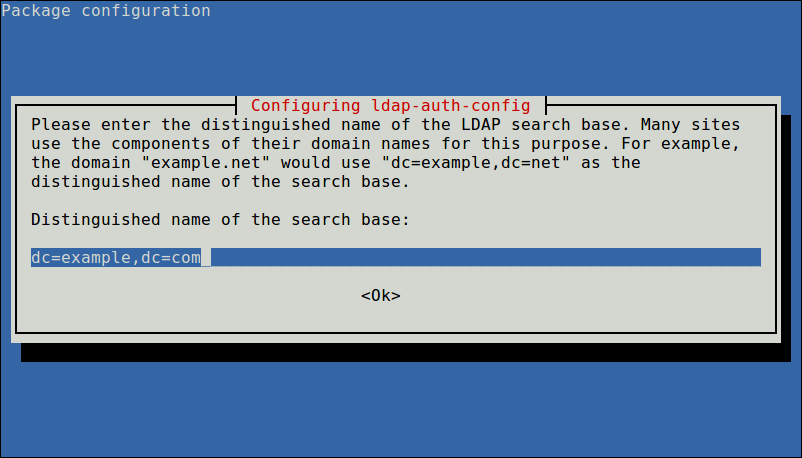
Enter LDAP Search Base
Also choose the LDAP version to use and click Ok.
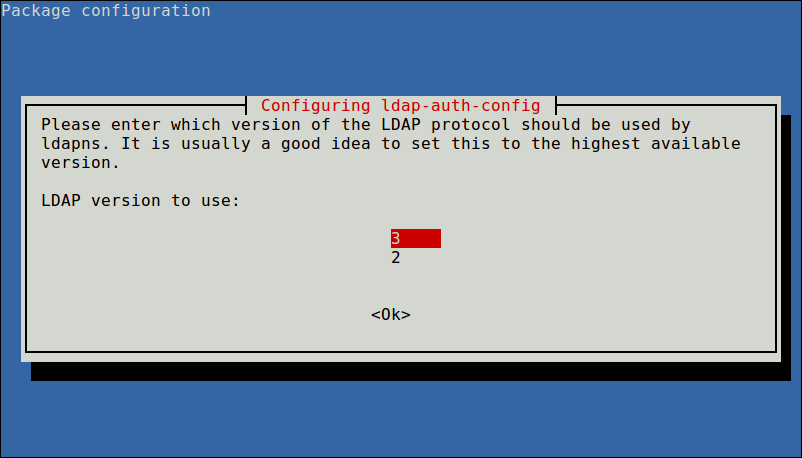
Select LDAP Version
Now configure the option to allow you to make password utilities that use pam to behave like you would be changing local passwords and click Yes to continue..
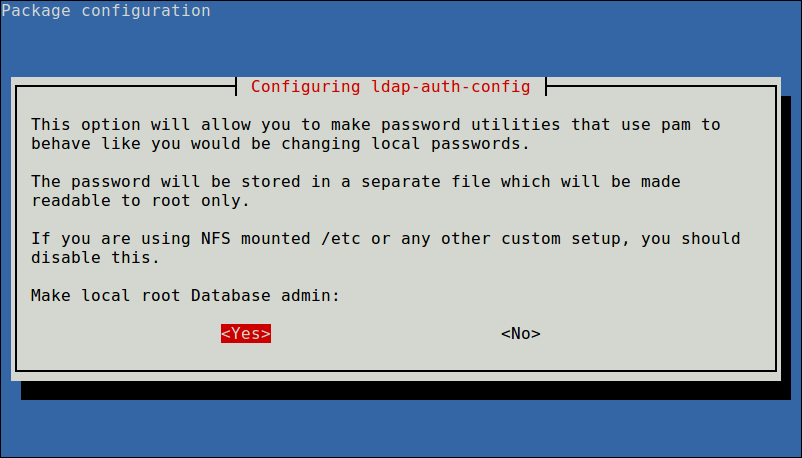
Make Local Root Database Admin
Next, disable login requirement to the LDAP database using the next option.
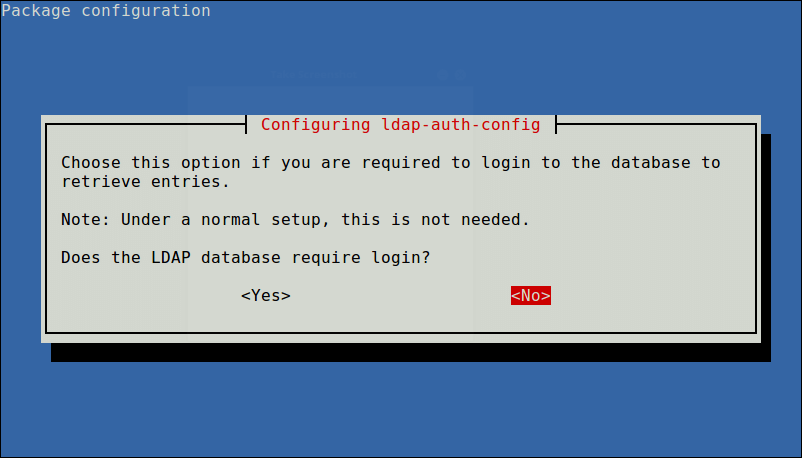
Disable Login to LDAP Database
Also define LDAP account for root and click Ok.
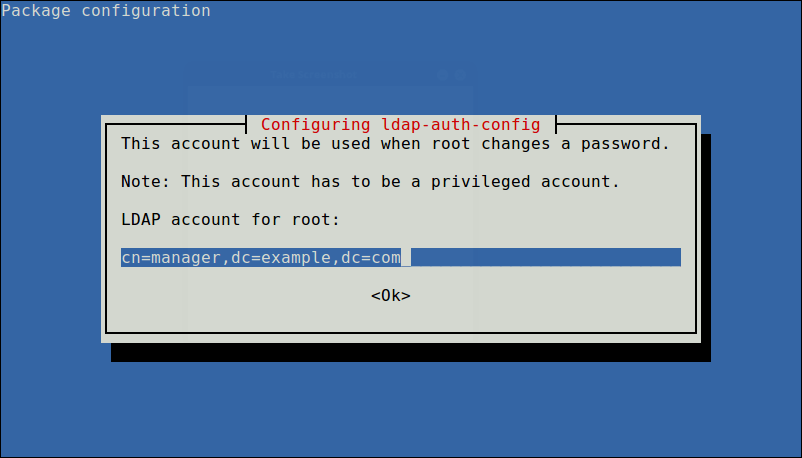
Define LDAP Account for Root
Next, enter the password to use when ldap-auth-config tries to login to the LDAP directory using the LDAP account for root.
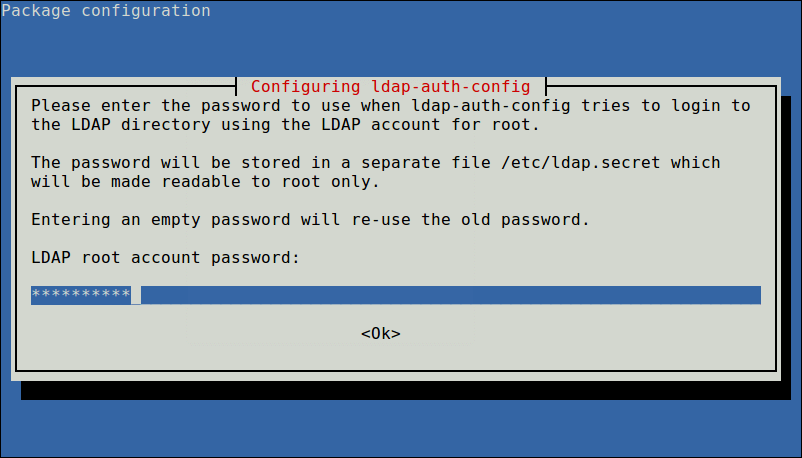
Enter LDAP Root Password
The results of the dialog will be stored in the file /etc/ldap.conf. If you want to make any alterations, open and edit this file using your favorite command line editor.
STEP2: Next, configure the LDAP profile for NSS by running.
$ sudo auth-client-config -t nss -p lac_ldap
Then configure the system to use LDAP for authentication by updating PAM configurations. From the menu, choose LDAP and any other authentication mechanisms you need. You should now be able to log in using LDAP-based credentials.
$ sudo pam-auth-update
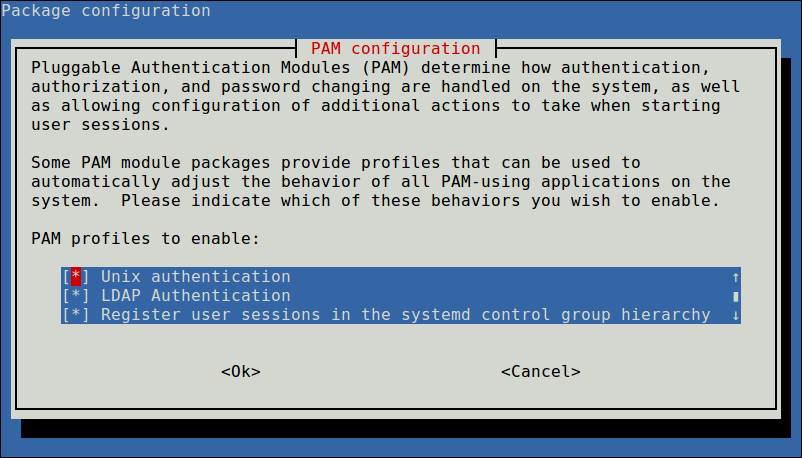
Configure PAM Authentication Mechanism
In case you want the home directory of the user to be created automatically, then you need to perform one more configuration in the common-session PAM file.
$ sudo vim /etc/pam.d/common-session
Add this line in it.
session required pam_mkhomedir.so skel=/etc/skel umask=077
Save the changes and close the file. Then restart the NCSD (Name Service Cache Daemon) service with the following command.
$ sudo systemctl restart nscd
$ sudo systemctl enable nscd
Note: If you are using replication, LDAP clients will need to refer to multiple servers specified in /etc/ldap.conf. You can specify all the servers in this form:
uri ldap://ldap1.example.com ldap://ldap2.example.com
This implies that the request will time out and if the Provider (ldap1.example.com) becomes unresponsive, the Consumer (ldap2.example.com) will attempt to be reached to process it.
To check the LDAP entries for a particular user from the server, run the getent command, for example.
$ getent passwd tecmint
If the above command displays details of the specified user from the /etc/passwd file, your client machine is now configured to authenticate with the LDAP server, you should be able to log in using LDAP-based credentials.
UBUNTU ≥ 20.04
Skip STEP2 previosly stated and procede with STEP3
STEP3:
After the installation, edit /etc/nsswitch.confand add ldap authentication to passwd and group lines.
passwd: compat systemd ldap
group: compat systemd ldap
shadow: compat
Modify the file /etc/pam.d/common-password. Remove use_authtok on line 26 to look like below.
password [success=1 user_unknown=ignore default=die] pam_ldap.so try_first_passEnable creation of home directory on first login by adding the following line to the end of file /etc/pam.d/common-session
session optional pam_mkhomedir.so skel=/etc/skel umask=077Test by switching to a user account on LDAP
root@server1:~# sudo su - jmutai
Creating directory '/home/jmutai'.
jmutai@server1:~$ id
uid=10000(jmutai) gid=10000(sysadmins) groups=10000(sysadmins)
Credits go to:
https://www.tecmint.com/configure-ldap-client-to-connect-external-authentication/
https://computingforgeeks.com/how-to-configure-ubuntu-as-ldap-client/